Sunday, November 8, 2015

Reason For The Season Candle

WOW! I cannot believe it's been over a MONTH since I have posted!!! First let me explain why....at the end of September, after looking for a couple of years, we were blessed to have found a fantastic house to purchase.  Being in a small area, it was so hard to find something that was everything we wanted...God literally dropped it into our hands. So, with that, the owners wanted us to move in as soon as we could. Anyone who knows us, knows that my husband is a school teacher and year round coach, so nights and weekends were limited, but we did it an astonishing 5 days!  Secondly, my computer is not running correctly, not sure if it's a virus, or ready to retire, but my time is limited on my laptop for posting photos..and thirdly, if that wasn't enough, my mom suffered a stroke, and during the process of her intial care, doctors found that she also has dimentia, so for two weeks my sister and I stressed over things such as long term housing, her finances, and now we have the daunting task of cleaning out her apartment this week which is a distance away from both of us, but with God's will in tact, we will get it done.  The blessing of being at home full time and running this business, I have some AMAZING friends that know that I need to keep busy in a positive way and that I need some extra cash flow for the holidays, so I have had 3 WORKSHOPS in the past two months! WHOOHOO! So, for the next couple of posts, I am going to share some of my workshop projects.

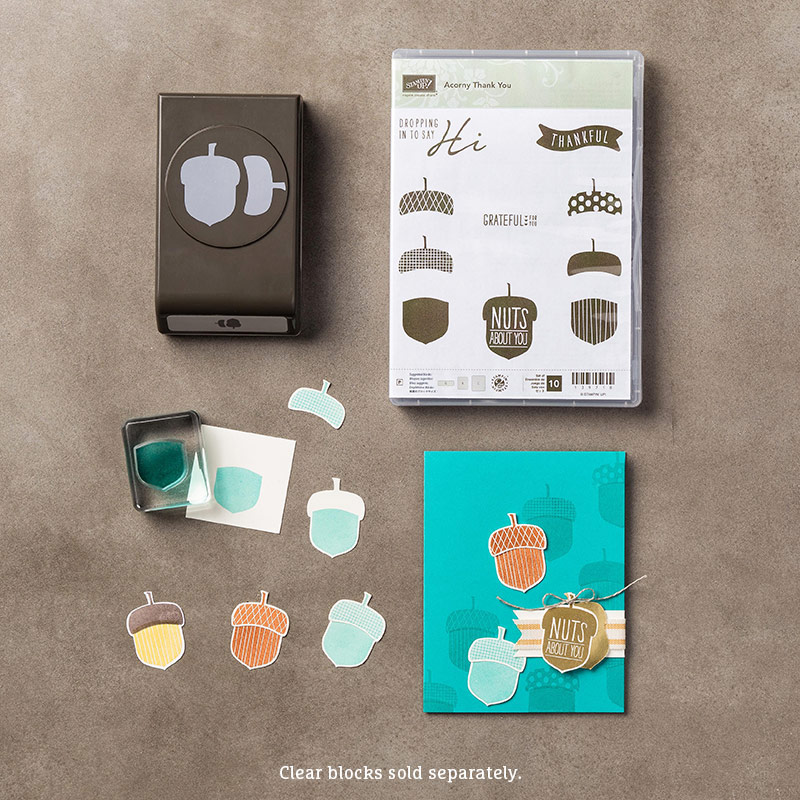
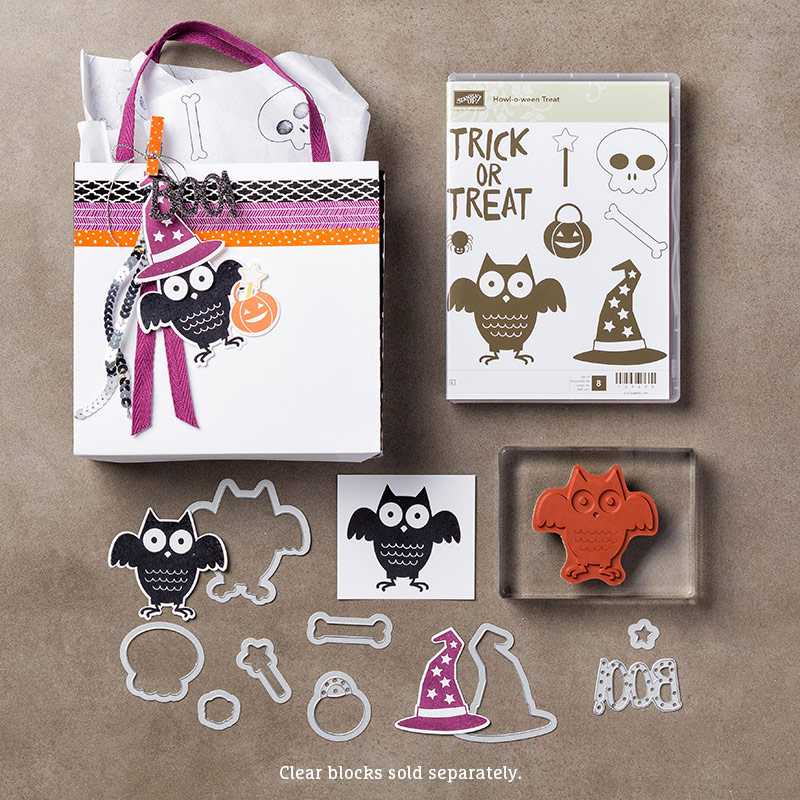
This first project was my favorite! I brought back an old technique that I first learned 15 years ago when I started stamping and it has always been something that I knew would wow the girls that are now seasoned stampers, and what better time to share is during the holiday thought process of gift giving.  Remember embossing on candles? Yeah, it was pretty impressing to all who got to see it! And I KNEW once I put one of these FANTASTIC Poinsettias together from the Festive Flower Punch and Reason for the Season stamp set (this is sold seperatley or as a bundle), I knew exactly that it was going to go wonderfully on the front of the candle.
 
I stamped the sentiment onto the tissue paper and trimmed around it closely, then held it on to the front of the candle and placed waxed paper over it and heated it with the heat tool until JUST melted. Then I pulled off the waxed paper and viola!

 Here is a closeup of the flower finished...
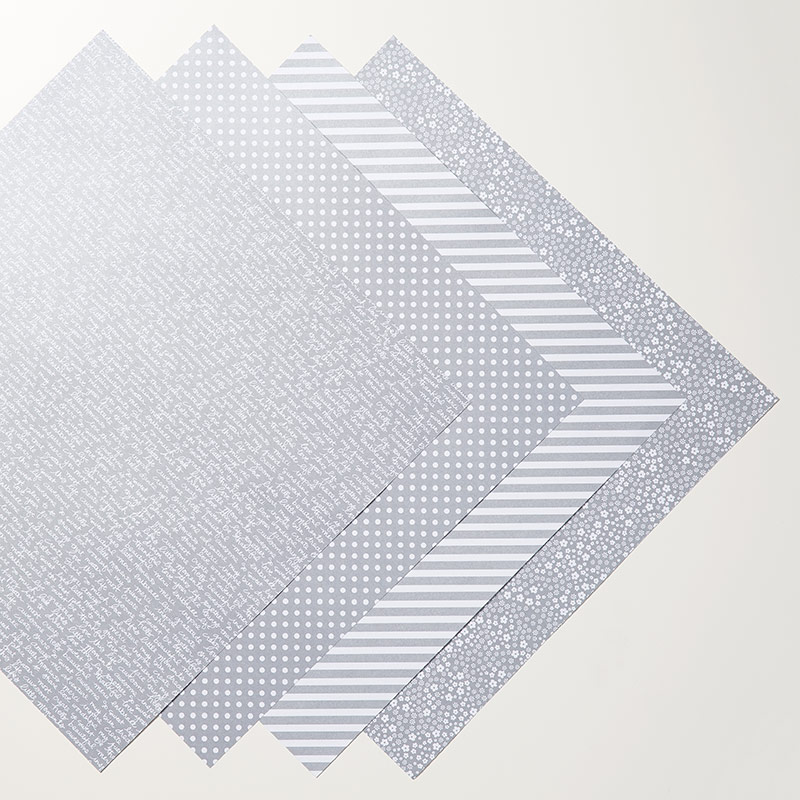
I wrapped a piece of Winter Wonderland Foil DSP around the bottom of the candle and set it on a candle holder with three Gold Foil Doiles on top.  I hope to post some other projects this week, but as I said, cleaning out my mom's apartment and add parent teacher conferences and two more card classes, I will be spent.  It's good to be "back"and I hope you enjoyed this blog post. Have a super week!

Thursday, October 1, 2015

Christmas Cheer Shaker Card~

 Hello there! Today's post comes from one of my recent workshops.  My hostess asked me to show how to make a shaker card now that the shakers frames are no longer available.  So, here is my simple version on one.
I started by cutting two pieces of Window Sheets to 3"x 3". I cut a piece of Merry Moments(the plaid design) DSP to the same size.  I stamped and punched the trees from Festival of Trees ( stamped them in Whisper White ink onto Mossy Meadow card stock) with the Tree Punch twice.  I glued one to the DSP, then the other I popped up using a couple of Dimensionals.  I took that, and layered in between the two pieces of Window Sheets and used the Winter Wonderland Washi Tape on 3 sides of it, leaving the top open to fill with sequins and stars that I punched from Cherry Cobbler and Mossy Meadow card stock using the Stars Confetti Punch.  Then I taped the top shut as well.  I cut a piece of Cherry Cobbler card stock using my Square Framelits layered together at the same time and ran it through the Big Shot, creating a frame to stick to the front of the "shaker".  Then I used Tear Tape to adhere it to the card base that I layered up by using Cherry Cobbler for the base, and Whisper White that I ran through the Big Shot using the Softly Falling embossing folder. I stamped out the sentiment from Cheer All Year (holiday mini) and flagged the ends.  And finally adding the button from the Home From Christmas Designer Buttons and a Candy Enamel Dot to the center.  I hope you enjoy this post, if you have any questions, please contact me.
$25.00 $8.00
$5.00$4.00
$6.00$28.75/Bundle
$5.00

Wednesday, September 30, 2015

Acorny Thank You~

Good Hump Day to you all! I'm having a hard time getting back up to speed from my fantastic vacation via SU! but I'm determined. Yesterday I designed all my cards for October classes, but still need to cut supplies for them, half the battle for me is the designing.  So, I realized when I was done with that, I hadn't even posted the other 4 of September's class cards! This stamp set is so fun! I love the acorns!! 
My color palette is Crushed Curry, Cajun Craze, Early Expresso, Whisper White, Bermuda Bay and Crumb Cake. 
It was a busy card...I actually told my customers it was probably one of the "most expensive" cards we have ever made due to all the punches, embossing folders inks and paper..:) I think the box of supplies that was at the table was over 10#! LOL! Well, I must step away from the computer now, I have some more prep work for upcoming workshops before the packing of the house begins this weekend! Have a great Wednesday!


Monday, September 28, 2015

Starbucks Coffee Gift Card Holder

Hello! I'm BAACK! Had the most amazing time in Orange Beach CA with some other SU! Demonstrators for The Getaway Trip! So, I thought my first share back would be the coffee cup gift card holder that I made for my daughter who went with me as my husband coaches high school football and can't get away this time of year to enjoy some sun.  I used Very Vanilla card stock and cut out my template for the outside and ran it through the Hearts Embossing folder.
For the insert, I used Calypso Coral card stock and cut it slightly smaller to fit into the cup, and added the lid with a strip of Gold Glimmer paper.  Then I finished the outside of the cup with Crumb Cake card stock that I used my Crimper on ( I wish we still carried this tool!).  I stamped out the saying from the set Oh My Goodies! in Crumb Cake ink and cut it out with the Labels dies and added some Calypso Coral Seam Binding ribbon and a little heart.
She is a single mom who works full time and wanted to treat her with some gift cards so that she didn't have to pay for her coffee.  She had a blast and we reconnected since she moved out and on her own.  I got to learn my appreciation for her all over again.
Thanks for stopping by, I must get to bed as I'm still recovering from the time change.

Tuesday, September 22, 2015

Wicked!

Good Tuesday! What gorgeous weather we are having here in the Midwest. Hard to believe that today is the last day of Summer! I'm looking forward to fall, not so much winter, but fall, yes.  So, this creation is not my original, it's a spinoff of my friend Kimberley Van Diepen's original.  Because I tend to "collect" stamps, I didn't even realize that I had the stamp set that had the "wicked" in it, but it's because it's a Project Life stamp set called Seasonal Snapshot 2015,  and it's in a place all in it's own. 

I don't have time to go into details on the whole thing today because I have to get to the dentist, prepare food and clean (and pack somewhere in there before bed tonight for my CA trip!).  BUT, I want to say that I distressed the Old Olive strip with my Paper Snips to give it texture.  I will post the product that I used below.  Colors of card stock and ink that I used are: Tangerine Tango, Crumb Cake and Very Vanilla.  Well, I'm off, I must get to gettin' while my body says so. Thanks for stopping by.
$38.25 US
$10.00 US
$3.00 US

$5.63 THIS WEEK ON SALE!

Monday, September 21, 2015

Acorny Thank You~

 Good Monday to you all! I'm making the time to post today as I am supposed to be getting ready to leave for SU! Getaway to Newport Beach on Wednesday morning! EEK! I have so much to do, but I am going to use this time to just chill and regroup. This is one of my favorite cards from September card class.  I love the stamp set and coordinating punch in the Holiday Mini. I used Whisper White, Crushed Curry and Cajun Craze and Crumb Cake card stock for my layers.  I used Crushed Curry, Early Expresso and Bermuda Bay inks for the acorns. I used the Neuturals Designer Series Paper Stack for the banner behind the circles.
 I stamped this one out in the Bermuda Bay ink and punched it out and popped it up with Dimensionals and added a Gold Glitter Paper heart to it.
I stamped out the Crushed Curry acorn and then punched out the Cajun/Expresso acorn just from card stock, no stamping first. I also added Dimensionals to this for dimension and a Gold Glitter heart from the Hearts Border Punch.
Thanks for stopping by, I am hoping that I can get at least one more posted this week before I leave as I have two workshop projects from the month to post as well..BUSY! BUSY~


Contact me if you need to place an order or just leave a comment if you so choose! Those are always welcome! ;)

Monday, September 14, 2015

Downline Gifts~

 So, this past week was beyond busy, but i did manage to get my downline gifts made, not all mailed or delivered, but they are done and that's the biggest battle.  I upcycled/recycled my old My Paper Pumpkin boxes by turning them inside out. (DO NOT THROW THEM OUT!)
 I made a belly band that slides off using the English Garden DSP.  I made a bow using the Bow Die, out of Blushing Bride card stock. I used one of my favorite stamp sets exclusively for demonstrators that was offered at Convention 2010(?).  I punched out a Melon Mambo 1 1/4" Scallop and layered the "you are" on it in Whisper White.

 Inside the box, I stuck in some handmade goodies and a Bath and Body Works candle. I made them each a coaster, a EOS "lollipop" and some chocolate of course, a pad of sticky notes and a mini pen.
Today I am going to clean up my craft room and spend some time outdoors because I am MAKING time too.  I hope you have a super duper Monday!

Saturday, September 12, 2015

Snow Place-Swap Card #2~

 OMG! Fell in love with this stamp set and dies as soon as I opened the new Holiday catalog! This is my second swap card and it's pretty busy, but when doing Christmas cards of any type, they just MUST be busy! So, my layers are Whisper White, Cherry Cobbler, Basic Gray.  (I forgot to take a picture of the "icicles" at the top of the card by themselves, but I made those by just "drawing" icicles with Crystal Effects along the edge and then sprinkling with Dazzling Diamonds).
I stamped the snowman onto the Whisper White with the new Black Archival ink.  I stamped the scarf in Pool Party, the hate in Archival Black and colored the holly berries and leaves with Stampin' Markers and used the coordinating dies with this stamp set to cut them out. I used Crumb Cake ink to stamp out his limbs. Before I used a Dimensional to put his scarf on him, I colored in his snowball layers with the Two Way Glue Pen and sprinkled Dazzling Diamonds. I colored in his nose with Pumpkin Pie Stampin' Markers.
The sentiment is stamped in Cherry Cobbler ink....
I used two layers of Whisper White card stock and the tearing technique to make snow.  I again used my Two way Glue Pen and ran it along the edges and sprinkled with Dazzling Diamonds glitter.  I cut a piece of Pool Party dotted paper from the Subtles Designer Series Stack for some color at the bottom.  I used the Washi Tape Punch and punched out Cherry Cobbler card stock and wrapped it around the Pool Party DSP and added a Metal Rimmed Pearl to add a little bling. Most of everything was used from the Holiday Mini and as I said in the last post, I LOVED EVERY SINGLE CARD!  
I hope you have a fantastic Saturday, we are off to a parade to watch our daughter march.  Can't believe the high temperature is only 67 degrees today, but I will take that! LOVE the cooler weather! 

Friday, September 11, 2015

HowlOWeen Swap Card~

HELLO Friday! Recently, I participated in a Stampin' Up! Trip Achievers Swap using product from the Holiday Mini catalog and I must say, EVERY SINGLE CARD I got back was AMAZING! I did two groups, so I got back 30 CARDS! This is one of mine that I swapped.  It is using the Howl-O-Ween stamp set and coordinating dies, Happy Haunting DSP and the NEW Black Archival Ink pad, in which I cannot say enough super things about, WHAT A CRISP image it stamps!

I used it to stamp the owl and this owl is not only SOLID, but a larger one and it never left a blank spot at all. *Not to change the subject, but anyone who knows me, knows I HATE BATS(the real ones-TERRIFIED!).  However, for some reason every year, I'm drawn into the stamps! lol Here I adhered him to the front a 2 1/2" circle of Dazzling Diamonds Glitter Paper.
I again used the Archival ink to stamp the sentiment and again, it just came out awesome.
There is so much in this Holiday Catalog, contact me if you need help placing an order!


Wednesday, September 9, 2015

Baby Gift for Sydney~

 Can't believe that it's been nearly a month since I have posted on my blog.  As usual, been so busy that I just don't get the time to post here much.  I do stamp and create, but sometimes it's last minute or I forget to take photos of it as I go along then realize I need do that and have a million things to take pictures of and then I have to upload them etc...vicious cycle. lol So, here is something that I made for a friend of mine who had an adorable baby girl and wanted to of course make her something handmade.  She had mentioned that she needed something to hang her baby girls' hair ties/clippies etc. on so this is what I made her.  I just bought an open back frame from Hobby Lobby and added some SU!  ribbon to the back and hot glued it( would have used my staple gun, but it has mysteriously disappeared-so that is what I recommend).
 I made assorted flowers from SU! card stock and Designer Series Paper Stacks and buttons.
 I cut an "S" from the Silver Glitter paper and hot glued it to a big flower.
 I even made her some yoyo flower hair clippies and bobby pins for later when she has more hair.

 I also made her a giant wooden "S" to hang next to it on her wall. Again using the DSP Stacks and card stock from SU! in the Subtles collection.
 I used some retired stash that I had for embellishing ...I knew that it would come in handy some day.  Some say I'm a hoarder, I say no...lol
I will get to see her Thursday night at card class, so I hope that she doesn't look at my blog until then.
Happy Wednesday!